

Glue Line Still Life
- Hope Creek Studios

- Sep 23, 2025
- 1 min read
Glue Line Still Life: A Contour + Color Study (Grades 5–12)
This one has earned a permanent spot on my “favorites” list—and for good reason. It combines classic still life drawing with a twist that feels a little bit magical every time.
We begin simply: setting up a still life and sketching what we see. Students practice slowing down, observing shapes, and working out proportion. But here’s where it takes a turn—once their drawings are in place, I have them zoom in on one section and enlarge it to fill the page. Suddenly, a simple vase or cluster of fruit becomes an abstracted, dynamic composition.

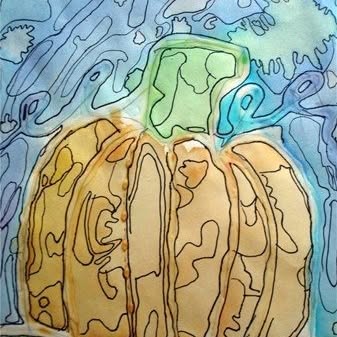

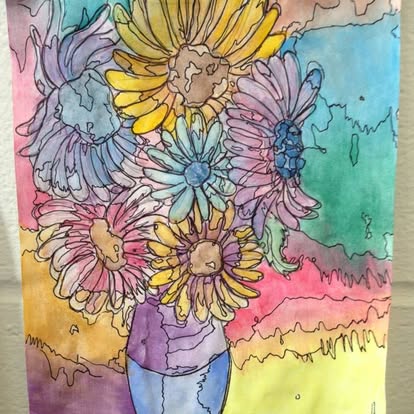
Next comes the glue. Students carefully trace all their lines with bottled glue, creating raised edges that dry overnight. The next day, we bring in watercolor—layering washes of color, experimenting with blending, and building up value. The glue lines quietly guide the process, but they don’t fully come alive until the final step.

Once the watercolor is dry, students grab fine-tip Sharpies and trace along every glue line, also adding detail where the colors shift in tone. It’s like the drawing reveals itself all over again—full of texture, depth, and energy.
Why it works: This project weaves together contour, observation, and value while giving students a completely fresh medium to explore. The glue adds a tactile element, the watercolor encourages experimentation, and the Sharpie detailing ties it all together. Every single piece feels dramatic, layered, and truly display-worthy.

©HOPECREEKSTUDIOS2025

Comments